Landing Pages

Please note: The steps discussed on this page are optional

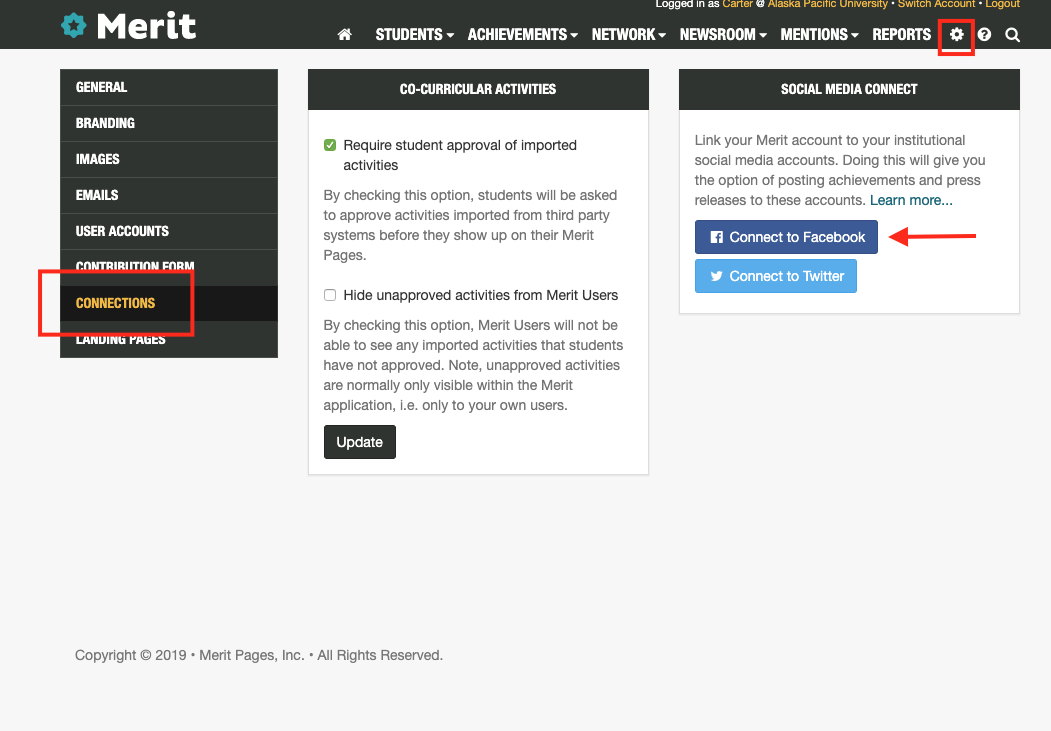
Landing pages help direct all of your web traffic to your school's website. They can be configured on the  Landing Pages tab in your Merit settings:

Types of landing pages (Javascript or iFrame)

To use a web page on your own website as the landing page for a Merit achievement or Newsroom press release you must either:

  1. Include our merit.js Javascript library on your web page, OR

  2. Allow your web page to be placed into an IFRAME


Landing Page Option 1: iFrame mode 

For this option you must ensure that the landing page you wish to use allows iFrames. There is no other set up required. If your landing page does not allow iFrames, then you must either enable this option on your site, or use option 2 - Javascript mode.  

Landing Page Option 2: Javascript mode 

For this option you must ensure that the following javascript is present in the <head> section of your landing page:

<script src="https://api.meritpages.com/merit.js"></script>

Adding a new Landing Page

1. Go to Settings > Landing pages

2. Click "New Landing Page" link. 

3. Give your landing page a name for reference, and paste the URL for the page. Next, choose the type of page and then click the Save button. 

Add Student Photos or Videos

Each student's personalized online story can have a custom photo or portrait to accompany it. 

You can add personalized portraits on Step 2 of the achievement workflow. After uploading your list of students, you can click on any gray silhouette to add add an individual portrait for that student:

You will be prompted to locate their file on your computer and upload it. Once the file has been added, a small preview of the photo will then replace the silhouette for that person. 

To see a larger preview of the photo, just hover over the thumbnail image. You can always replace or remove the photos you've chosen. To remove the photo, right click on the preview image and select "Remove attachment." 

How Portraits are Used

When a student has a portrait added, that image will be featured on their graduation achievement. Viewers can click the arrows on the student's story to view their portrait, or switch to any of the other attached photos or videos.

Style Guide and Sizing Recommendations:

Student portraits will be resized to 600w x 400h. In general you should follow the these guidelines:

  • Use the highest resolution photo possible. 

  • Make sure your subject is positioned appropriately within the photo

  • Avoid images which do not crop well when they are resized to 600w x 400h. For example, tall and narrow photos.

How to Add Parent Emails

You can automatically share news about your graduating seniors with their parents. To do this, simply include a column in your spreadsheet with parents' email addresses:

Note: If a student has multiple parent email addresses, include the email addresses in the same cell separated by commas. 

After uploading a spreadsheet during Step 2 of the achievement workflow, you will see a field labeled "Email CC" in the Map Student Data section as shown below. Check the checkbox to import your parent email addresses. 

Parents will then receive an email which will take them to their child's graduation achievement. From there they can share it friends and family on social media.

Customize your Merit Page

Your school's Merit page can be customized t adhere to your school's brand standards and contains general information about your institution. Your Merit page also features all the achievements you publish in a timeline format.

To set up your Merit page, Log in to your Merit account, click on Settings in the menu located in the upper right corner of the Dashboard. Under Settings click Branding

Logo

To upload your logo, click "Choose File" in the Logos form and upload your desired logo. The logo you upload will be added to the achievement email notification the student receives, and will also appear in other places on meritpages.com.  

Customize your schools Merit Page 

Here you can customize your Merit page to reflect your school's brand. This includes using your school's colors, custom images and introductory text.

To customize the title bar on your Merit page, enter the hex code for your institution's primary color. Hex codes include 6 characters and are alphanumeric.  For example: 00402F

To customize the background image on your institution's Merit page, upload an .jpg or .png image file. Note: This image should be between 2200w x 1800h and 1366w x 768h

To customize the logo or profile photo that appears on your institution's Merit page, upload an .jpg or .png image file.  Note: This image should be 280w x 280h

Enter a description about your institution into the About Your School field. We recommend you enter your standard boilerplate. Note: this description must not exceed 500 words. Once you have entered your institution's standard description, click Update.

The description of your school will be used as the About Us section on your institution's Merit page.

Clicking Preview & Publish will show you a sample of your Merit page with all of the images and text you've selected. To save this page you will need to click the Publish link at the top of the preview. 

Connect to Social Media

You can connect your Merit account to your institutional Facebook pages and Twitter accounts using Social Media Connect. This allows you to post student achievements and Newsroom press releases directly to those channels. Social Media Connect can be found under Settings > Connections.

In This Article:

How to connect Facebook
How to connect Twitter
Publish content to social media via Merit

Watch the video to see the process:

Connecting Facebook to Merit:

This process connects Merit to Facebook pages that you manage, allowing you to post content to those pages directly through Merit. 

Requirements:

  • You must be an administrator of your institution's Facebook page 

  • The page you want to connect must be a published page


Step 1: Log into Facebook

Step 2: Go to Settings > Connections in your Merit account. 

Step 3: Select the "Connect to Facebook" button. Facebook will launch a connection workflow. 

Step 4: (Facebook Workflow): Click Continue as (Your Name)

Step 5: (Facebook Workflow): Select the pages you want to use with Merit, and click OK. 

Step 5: (Facebook Workflow) Ensure "Yes" is toggled on, and click Done. 

Step 6: (Facebook Workflow) - Click OK to finish the connection workflow. 

After clicking OK, you will be redirected to Merit where you will find a notification that states you have successfully connected Merit to your institution's Facebook pages. If you have any trouble with the connection process, please contact us at help@meritpages.com. 

Connecting Twitter to Merit:

Step 1: Log into the Twitter account you want to connect

Step 2: Go to Settings > Connections in your Merit account. 

Step 3: Select the "Connect to Twitter" button. Twitter will launch a connection workflow. 

Step 4: Click the "Authorize App" button. 


After connection, you'll be redirected back to Merit settings. If you have any trouble with the connection process, please contact us at help@meritpages.com.

Publish content to social media via Merit

When publishing a student achievement or a Newsroom press release, you can select any of your connected social media accounts to post to.  

Achievement workflow distribution channels: