Getting Started

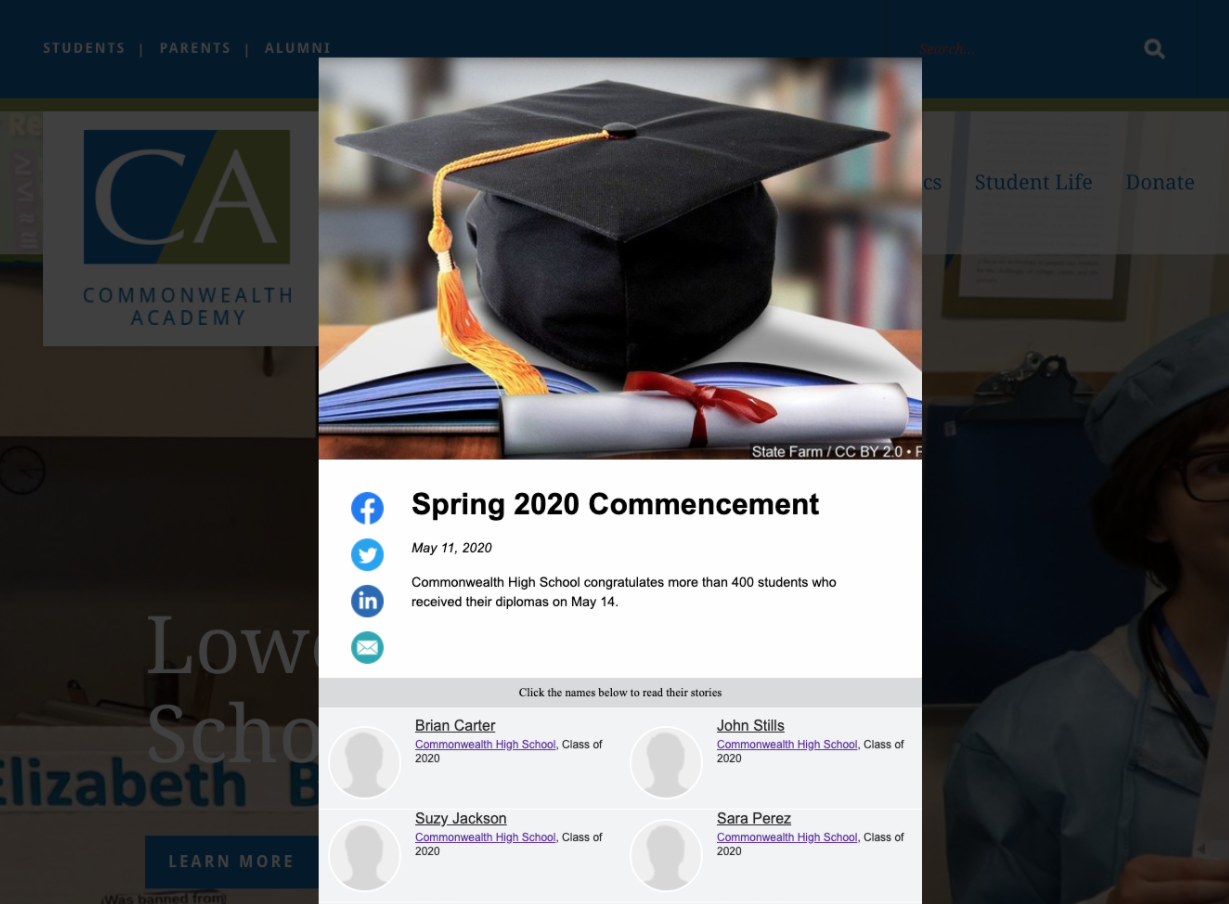
Merit lets you create personalized, shareable graduation stories that are distributed to students, parents and local newspapers. Here you'll find everything that you'll need to get started. 

The Basics 

To publish a Merit graduation story you will need three things: 

Once you have these three parts, you can log in and prepare your story. Here you'll find a variety of resources to help you publish your graduation story:

Advanced Tips and Tricks

There are a few things you may want to do to make your graduation stories extra special. They may take a little extra work, but they'll help your school and your students get the most out of your graduation stories:

Write a Title and Summary

Your achievement title and summary will appear on your story's public landing page. Viewers will see them (along with any relevant photos/videos) when your story is shared on social media. Your title and summary should act as a brief introduction to your achievement and the students who are recognized for it.

BEST PRACTICES FOR WRITING YOUR TITLE AND SUMMARY:

  • Use a generic title - Your Merit titles should be written differently than a press release headline. Use something basic like "Spring 2020 Commencement."

  • Keep your summary brief - Try to stick to an introductory sentence and two or three sentences of additional details. 

Create a Spreadsheet

To publish your graduation story, you will need a list of the students who will graduate. The list should be in the form of Excel (.xls or .xlsx) or Comma Separated Values (.csv) spreadsheet. You can include a variety of data in your spreadsheet, but a few sets of information are required: 

  • First Names 

  • Last Names

  • Hometowns 

  • Zip Codes 

  • Students' Campus Emails 

Beyond these required fields you can include additional columns for things like:

  • The type of diploma the student graduated with

  • Any honors they earned

  • Parents' email addresses

Here's an example of a spreadsheet with the recommended data included:

Write a Story Template

Merit achievements are made up of a mix of templatized text and student data from your spreadsheet. The majority of the text will be the same for everybody, but throughout the story, you'll mix in some personal details. 

To do this, you're going to want to write a story that uses "placeholder" text for the personalized text from your spreadsheet. These "placeholders" will allow you to insert students' first names, last names, hometowns, diplomas, honors and more into your story. We usually recommend keeping this information in parentheses or all caps (or both), so you can tell which information is specific to individuals.  

Every student will have an online story created for them. You should begin by writing a story about ONE person. Here's an example of what a Merit story template could look like:

Quick Start Guide

To get started publishing a story, click the " New Achievement" button on your dashboard or on the Achievements tab. This will take you directly into the publishing workflow.

1) Summarize your achievement

Begin by setting up the landing page for your story. Here you will enter your achievement title and summary, select a category and semester for your achievement, and choose where your story appears online.

Learn more about summarizing your achievement

2) Add students to your story

To add your graduates to your achievement, choose the Upload Spreadsheet option. You will then be prompted to locate a spreadsheet on your computer and upload it. After uploading your file, your list students will appear below:

Mapping Student Data: Below the student grid, you will see a section for mapping student data. Fields such as first name, last name, hometown/city, zip code, major, class year and CEEB code will be automatically assigned, but you can use the dropdown boxes to make changes to these fields. You do not need to map a field in order to use it in your story.

Parent Emails: At the bottom of the mapping section, your will see an option for parent emails. If you have parent emails, simply check the corresponding box. Students' parents will then receive a graduation email at the same time as their child.

3) Write your online story

The story that you write here will appear on each student's Merit page. For your graduation story you will want to use the (default) personalized story. This version will use a mix of text and placeholders: 

4) Add your photos and video

You may add as many photos or videos as needed to your story. The photos and videos chosen here will appear on each student's story. Click the Attach File button to add images:

5) Select your distribution channels

After writing your online story you will want to determine which additional audiences (if any) you'd like to reach:

Note: Selecting the "Send to Hometown Newspapers" option will deliver news about all of your students to their local newspapers. We recommend that most public high schools skip this option. 

6) Write your local press releases (optional)

Checking the "Send to Hometown Newspapers" box will open up the Write Your Press Release workflow. Here you have the ability to customize your press releases, starting with your contact information. 

Merit will have automatically built both Individual and Group Press Releases for you, but you can click on the tabs to edit each of them. 

Newspapers that are interested in only one student will receive Individual Press Release. If multiple students from your list fall within any one newspaper's coverage area, you will also need to draft a Group Press Release. Merit knows which version of your press release each paper should receive and who should be included on

7) Preview and Publish

Here you will be able to preview your story in its various forms. You will want to click the "Continue" button on each step, and then finally the "Publish Now" button to submit the story to Merit's editors for review.